Coreldraw What Is the Blue Dotted Lin Around My Object
How to Align and Position Objects
When creating objects in CorelDRAW, you don't have to rely on just your eyes to place things where you want them. With smart drawing tools likeguidelines,alignment andpositioning options, andlive guides, every object can easily go just where it should.
Click on any of the images below to view full-size.
We'll look at three dockers that have all the options you'll need for aligning and positioning objects.
Guidelines
This business card template has 8 dashed blue lines – these areguidelines.

In theObjects docker, these guidelines are on theMaster Page layer, where they can be turned on and off with theEye icon.
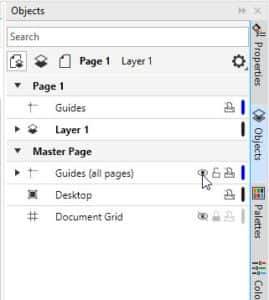
If the guidelines color is hard to see against your document background, you can select them all in theObjects Docker, and right-click on a different color swatch on theColor palette to change their color.

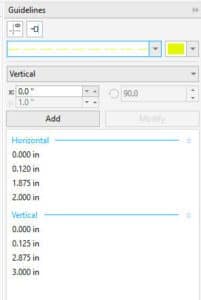
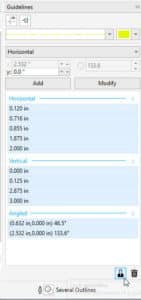
The Guidelines docker is one place where you can create guidelines. The existing ones are listed here, 4 horizontal and 4 vertical.
The Eye icon at the top of the docker can toggle guides on and off. At the top of the docker you can set a different line style and color for new guidelines that will be created.
To place a new horizontal guideline, set the drop down to Horizontal. Enter the Y distance of 0.8" and click Add.
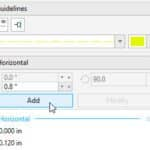
The guideline is created, but isn't positioned where it needs to go, at the top of the light blue box.

So select the guideline, change the Y dimensions to 0.855, and click Modify.
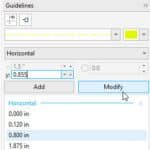
Now the placement is correct.

You can also select a guideline and press Ctrl + D to copy it, then move it by dragging or by entering an exact distance.

Or you can create a guideline by dragging from the ruler into the document, then modify its placement if needed.
For an angled guideline, choose that option from the drop down. Specify the angle, enter X and Y dimensions, and click Add.

Make a copy of this guideline, and move it a bit.

Click on the guideline again, and now you can rotate it. Continue moving and rotating until the guideline is placed correctly.

If you want to be sure your guidelines won't be moved or deleted, select them and lock them.
Be sure that Snap to Guidelines is enabled – this is the second icon at the top of the docker. Now you can reference guidelines when creating objects. For example, you could use the Pen tool to trace this shape.

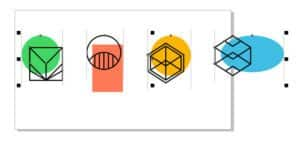
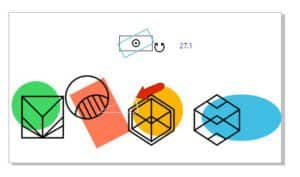
Next, let's look at the Align and Distribute docker, where a variety of placement options can be found. In this example, the four groups are all selected.
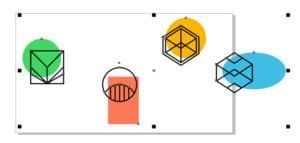
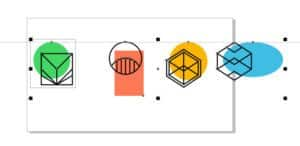
If you want the four selected groups to line up neatly with one another, click Align Center Vertically, or Align Top.
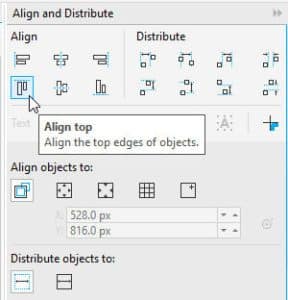
Objects move to align with the last object selected.
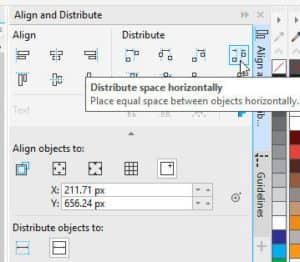
To space the groups evenly, try Distribute Center Horizontally, or Distribute Space Horizontally.
If the Outline option is enabled, the alignment is relative to the outlines of the groups
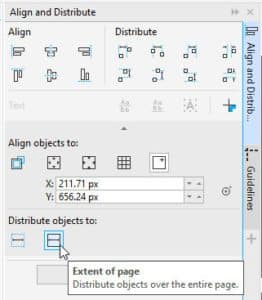
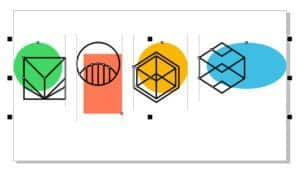
And with the Extent of Page option enabled, distribution will be along the entire page.
There are several other alignment options, such as Page Edge or Page Center, or you can specify an alignment point.
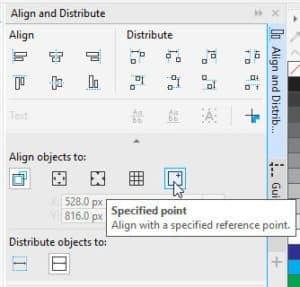
You can enter coordinates, or click Specify Point to pick a point directly on the document.
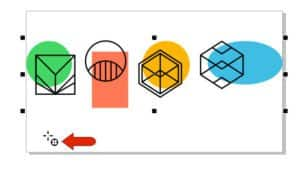
With this point set, you can click Align Bottom to bring all groups down to that horizontal level.

Finally, let's look at the Live Guides docker.
When Alignment Guides are enabled, there are several alignment options to choose from, such as Object Edges.
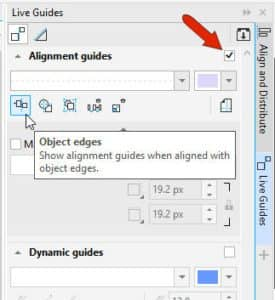
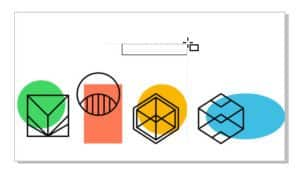
With this option enabled, you can create shapes that align with existing edges.
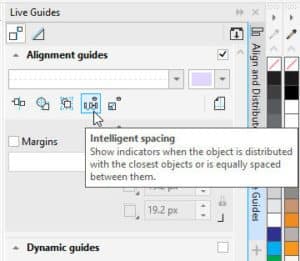
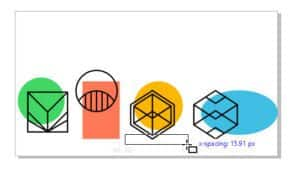
With Intelligent Spacing, you can draw a shape spaced exactly between two shapes.
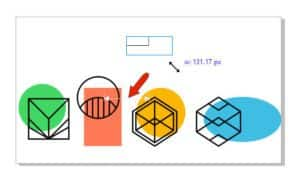
With Intelligent Dimensioning, you can scale an object and get indicators when a dimension is matched with an existing object.
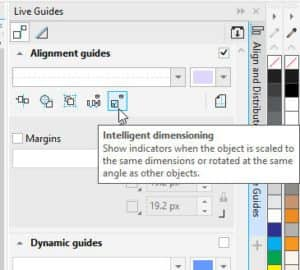
Or you can rotate an object to match the same rotation angle as an existing object.
With Dynamic Guides enabled, you can choose the angles to snap to.
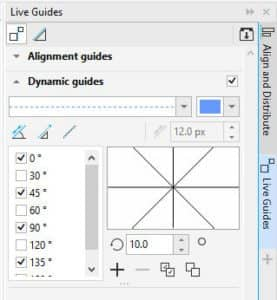
As you move the cursor around, the various angled guidelines appear, and you can even use guideline intersections when placing objects.

If you want angles other than the standard ones that appear by default, you can create custom angles.
See what's new in CorelDRAW Graphics Suite!
Download your FREE 15-day trial for Windows or Mac and fuel your creative fire with the new perspective tools, flexible design space, progressive photo editing tools, and much more.
Source: https://learn.corel.com/tutorials/how-to-align-and-position-objects-in-coreldraw/
0 Response to "Coreldraw What Is the Blue Dotted Lin Around My Object"
Post a Comment